
How to Replace a Fuel Filter: A Step-by-Step Guide
How to Replace a Fuel Filter: A Step-by-Step Guide
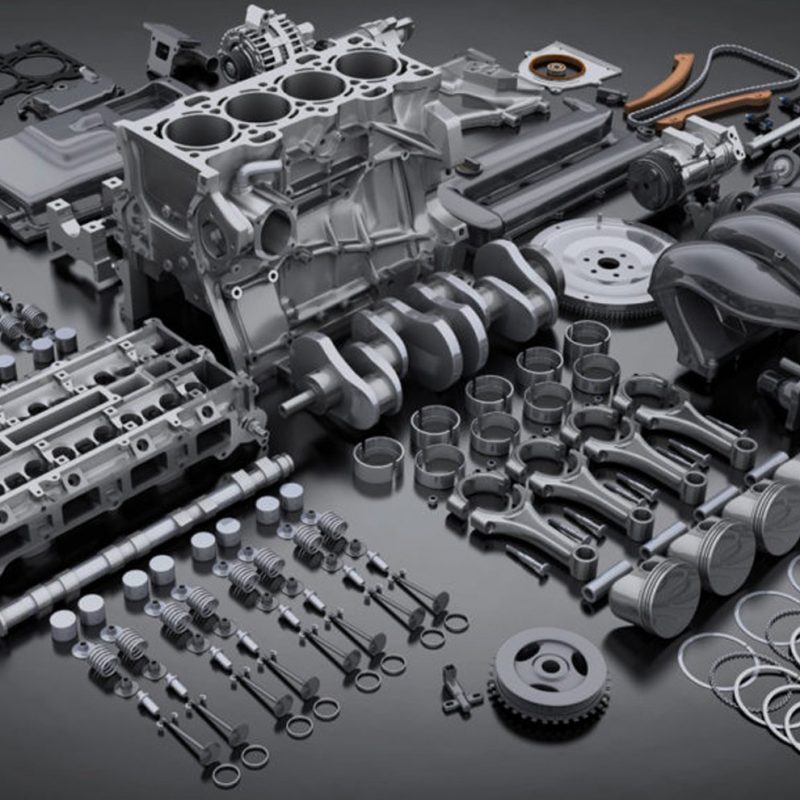
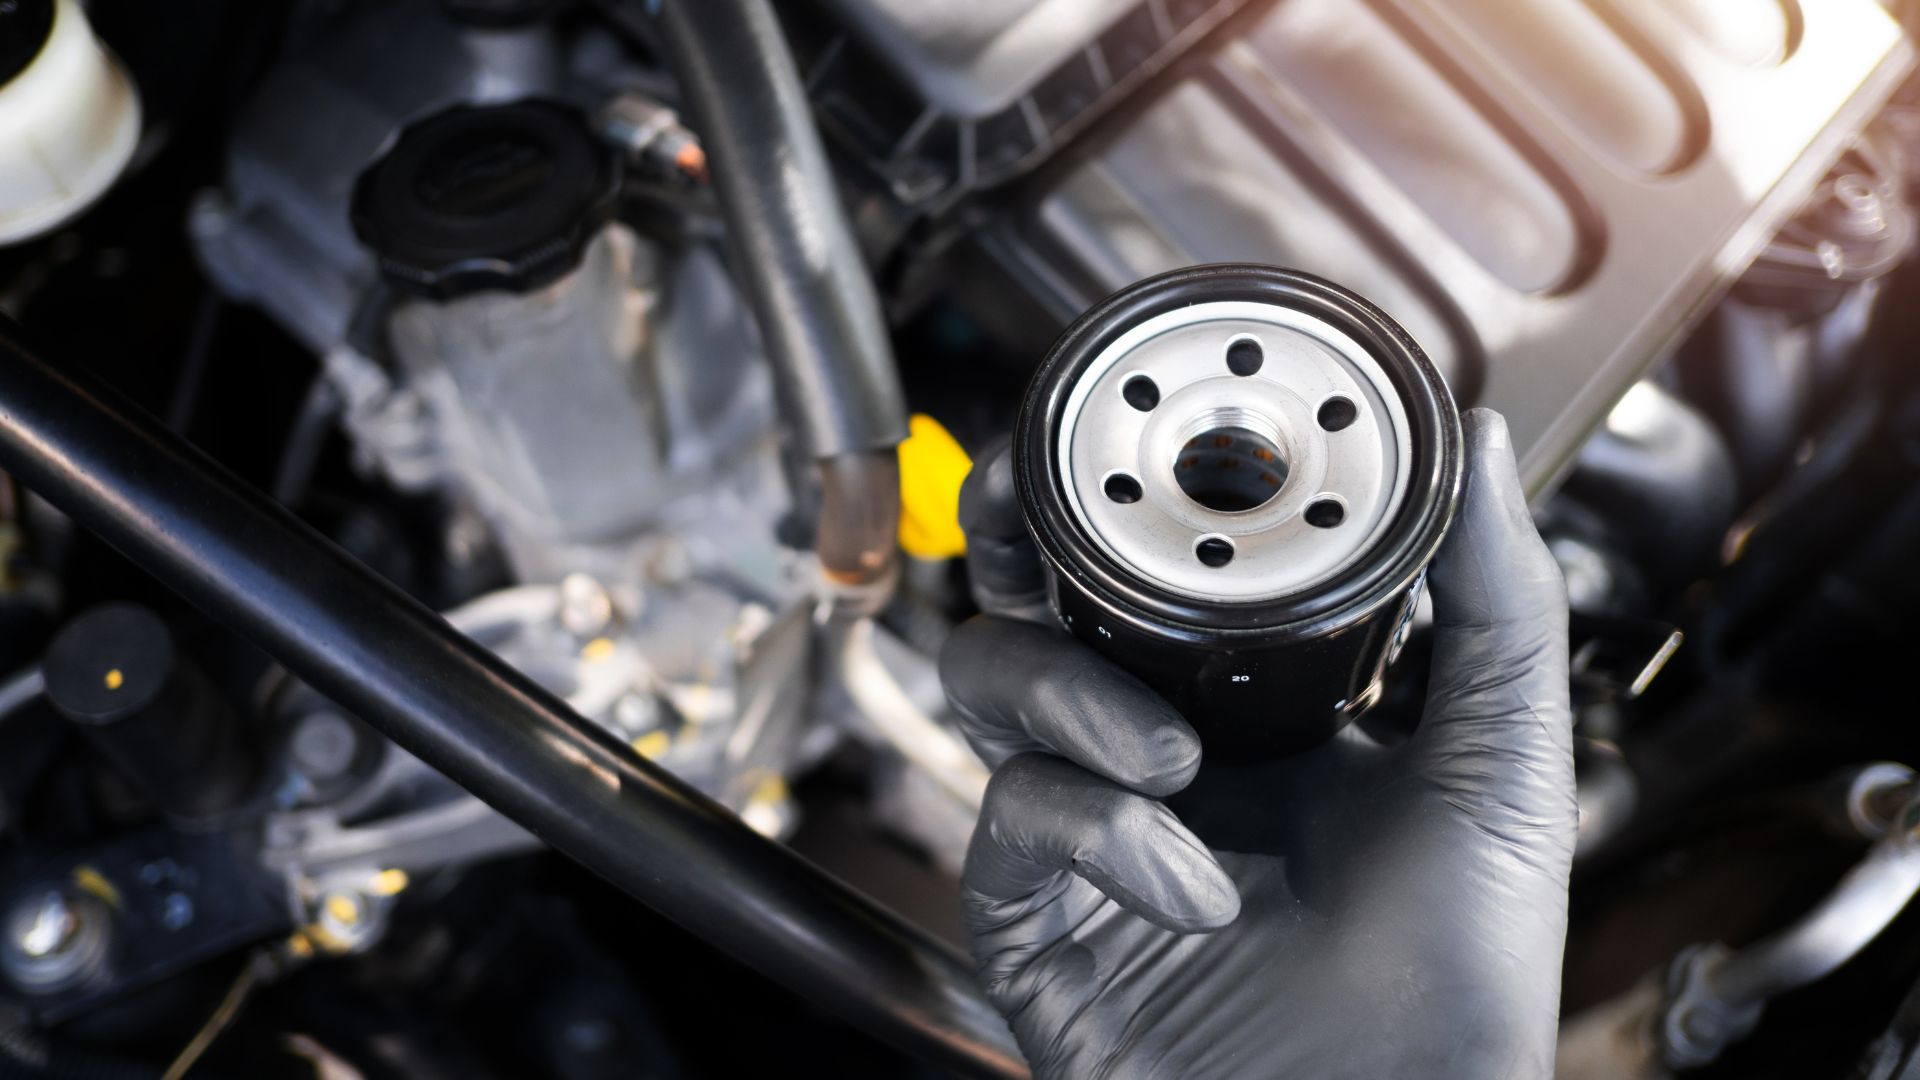
A fuel filter is an essential component of a vehicle’s fuel system, as it helps to remove dirt and other contaminants from the fuel before it reaches the engine. These contaminants can cause damage to the engine and reduce its performance, so it is important to regularly replace the fuel filter to keep the vehicle running smoothly. In this essay, I will provide a step-by-step guide on how to replace a fuel filter.
Step 1: Locate the fuel filter
The first step in replacing a fuel filter is to locate it. The fuel filter is typically located near the fuel tank or fuel pump, but its exact location may vary depending on the make and model of the vehicle. Consult the vehicle’s owner’s manual for the location of the fuel filter.
Step 2: Relieve the fuel pressure
Before replacing the fuel filter, it is important to relieve the fuel pressure in the system. This can be done by starting the vehicle and allowing it to run until it stalls. This will allow the fuel pressure in the system to drop, making it safer to work on the fuel filter.
Step 3: Disconnect the fuel lines
Once the fuel pressure has been relieved, the next step is to disconnect the fuel lines from the fuel filter. The fuel lines are typically connected to the filter with quick-connect fittings, which can be disconnected by pressing the tab on the fitting and pulling the line away from the filter. Be sure to have a container to catch any spilled fuel.
Step 4: Remove the old filter
Once the fuel lines have been disconnected, the old fuel filter can be removed. The filter is typically held in place with a clamp or bracket, which can be removed with a wrench or pliers. Carefully remove the old filter from its housing and discard it.
Step 5: Install the new filter
With the old filter removed, the new filter can be installed. Be sure to consult the vehicle’s owner’s manual for the correct type of filter to use. The new filter should be inserted into the housing and secured in place with the clamp or bracket.
Step 6: Reconnect the fuel lines
Once the new filter is in place, the fuel lines can be reconnected. Push the lines back onto the quick-connect fittings and make sure they are securely connected.
Step 7: Check for leaks
After the fuel lines have been reconnected, it is important to check for leaks. Start the vehicle and let it run for a few minutes, checking for any leaks around the fuel filter or fuel lines. If no leaks are present, the job is complete.
In conclusion, replacing a fuel filter is a relatively simple task that can be performed with minimal tools and knowledge. It is important to regularly replace the fuel filter to keep the vehicle running smoothly and to protect the engine from damage caused by contaminants in the fuel. Always be careful when handling gasoline and working on the fuel system. Follow the manufacturer’s instructions and consult the vehicle’s owner’s manual to ensure proper replacement.