
Fuel Filter Replacement Tips for the Home Mechanic
Fuel Filter Replacement Tips for the Home Mechanic
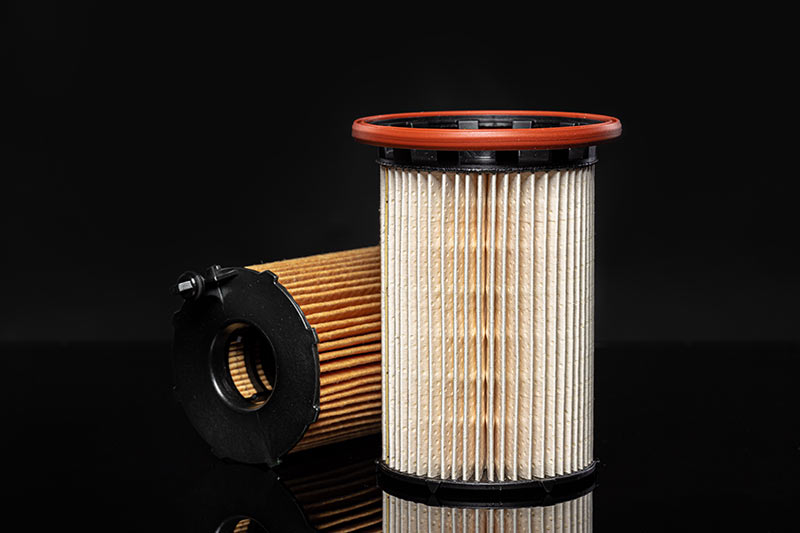
As a vehicle owner, it is important to understand the role of the fuel filter in your vehicle’s fuel system and the importance of regular replacement to maintain optimal performance and longevity. Replacing a fuel filter is a task that can be done by a professional mechanic, but it can also be done by the home mechanic with some knowledge and the right tools.
Here are some tips for a successful fuel filter replacement for the home mechanic.
- Consult the owner’s manual for the specific recommended replacement interval and instructions for your vehicle’s make and model. The recommended replacement interval for a fuel filter varies depending on the make and model of the vehicle, as well as the type of fuel it uses. Generally speaking, most vehicles require a fuel filter replacement every 30,000 to 50,000 miles or every 2 to 3 years, whichever comes first. However, some vehicles may require more frequent replacement.
- Gather the necessary tools and materials. Before attempting a fuel filter replacement, it is important to have the right tools and materials on hand. These may include a new fuel filter that is specifically designed for your make and model of vehicle, a set of wrenches, a socket set, and a fuel line disconnect tool. It is also important to have a catch container to catch any fuel that may spill during the replacement process.
- Release the pressure in the fuel system. Before starting the replacement process, it is important to release the pressure in the fuel system to prevent any fuel from spilling. This can be done by running the engine until it runs out of fuel or by using the Schrader valve, which is located on the fuel rail, to release the pressure.
- Disconnect the fuel lines from the filter. Once the pressure has been released, the next step is to disconnect the fuel lines from the filter. This can be done using the fuel line disconnect tool. Be prepared to catch any fuel that may spill.
- Remove the old filter and install the new filter. Once the fuel lines have been disconnected, the old filter can be removed and discarded. The new filter can then be installed in its place, making sure to follow the manufacturer’s instructions for installation.
- Reattach the fuel lines and test for leaks. Once the new filter has been installed, the fuel lines can be reattached and the pressure in the fuel system should be built up again. It is important to check for any leaks before starting the engine.
- Dispose of the old filter properly. It is important to properly dispose of the old filter to avoid any environmental hazards. Check with your local waste disposal or recycling center for the appropriate way to dispose of an old fuel filter.
In conclusion, replacing a fuel filter is an important maintenance task that can be done by the home mechanic with some knowledge and the right tools. It is important to consult the owner’s manual for the specific recommended replacement interval and instructions for your vehicle’s make and model. Gather the necessary tools and materials, release the pressure in the fuel system, disconnect the fuel lines, remove the old filter, install the new filter, reattach the fuel lines, and test for leaks. Remember to dispose of the old filter properly. If you are not comfortable with the task, it is best to have a professional mechanic perform the replacement.